STEP ONE:
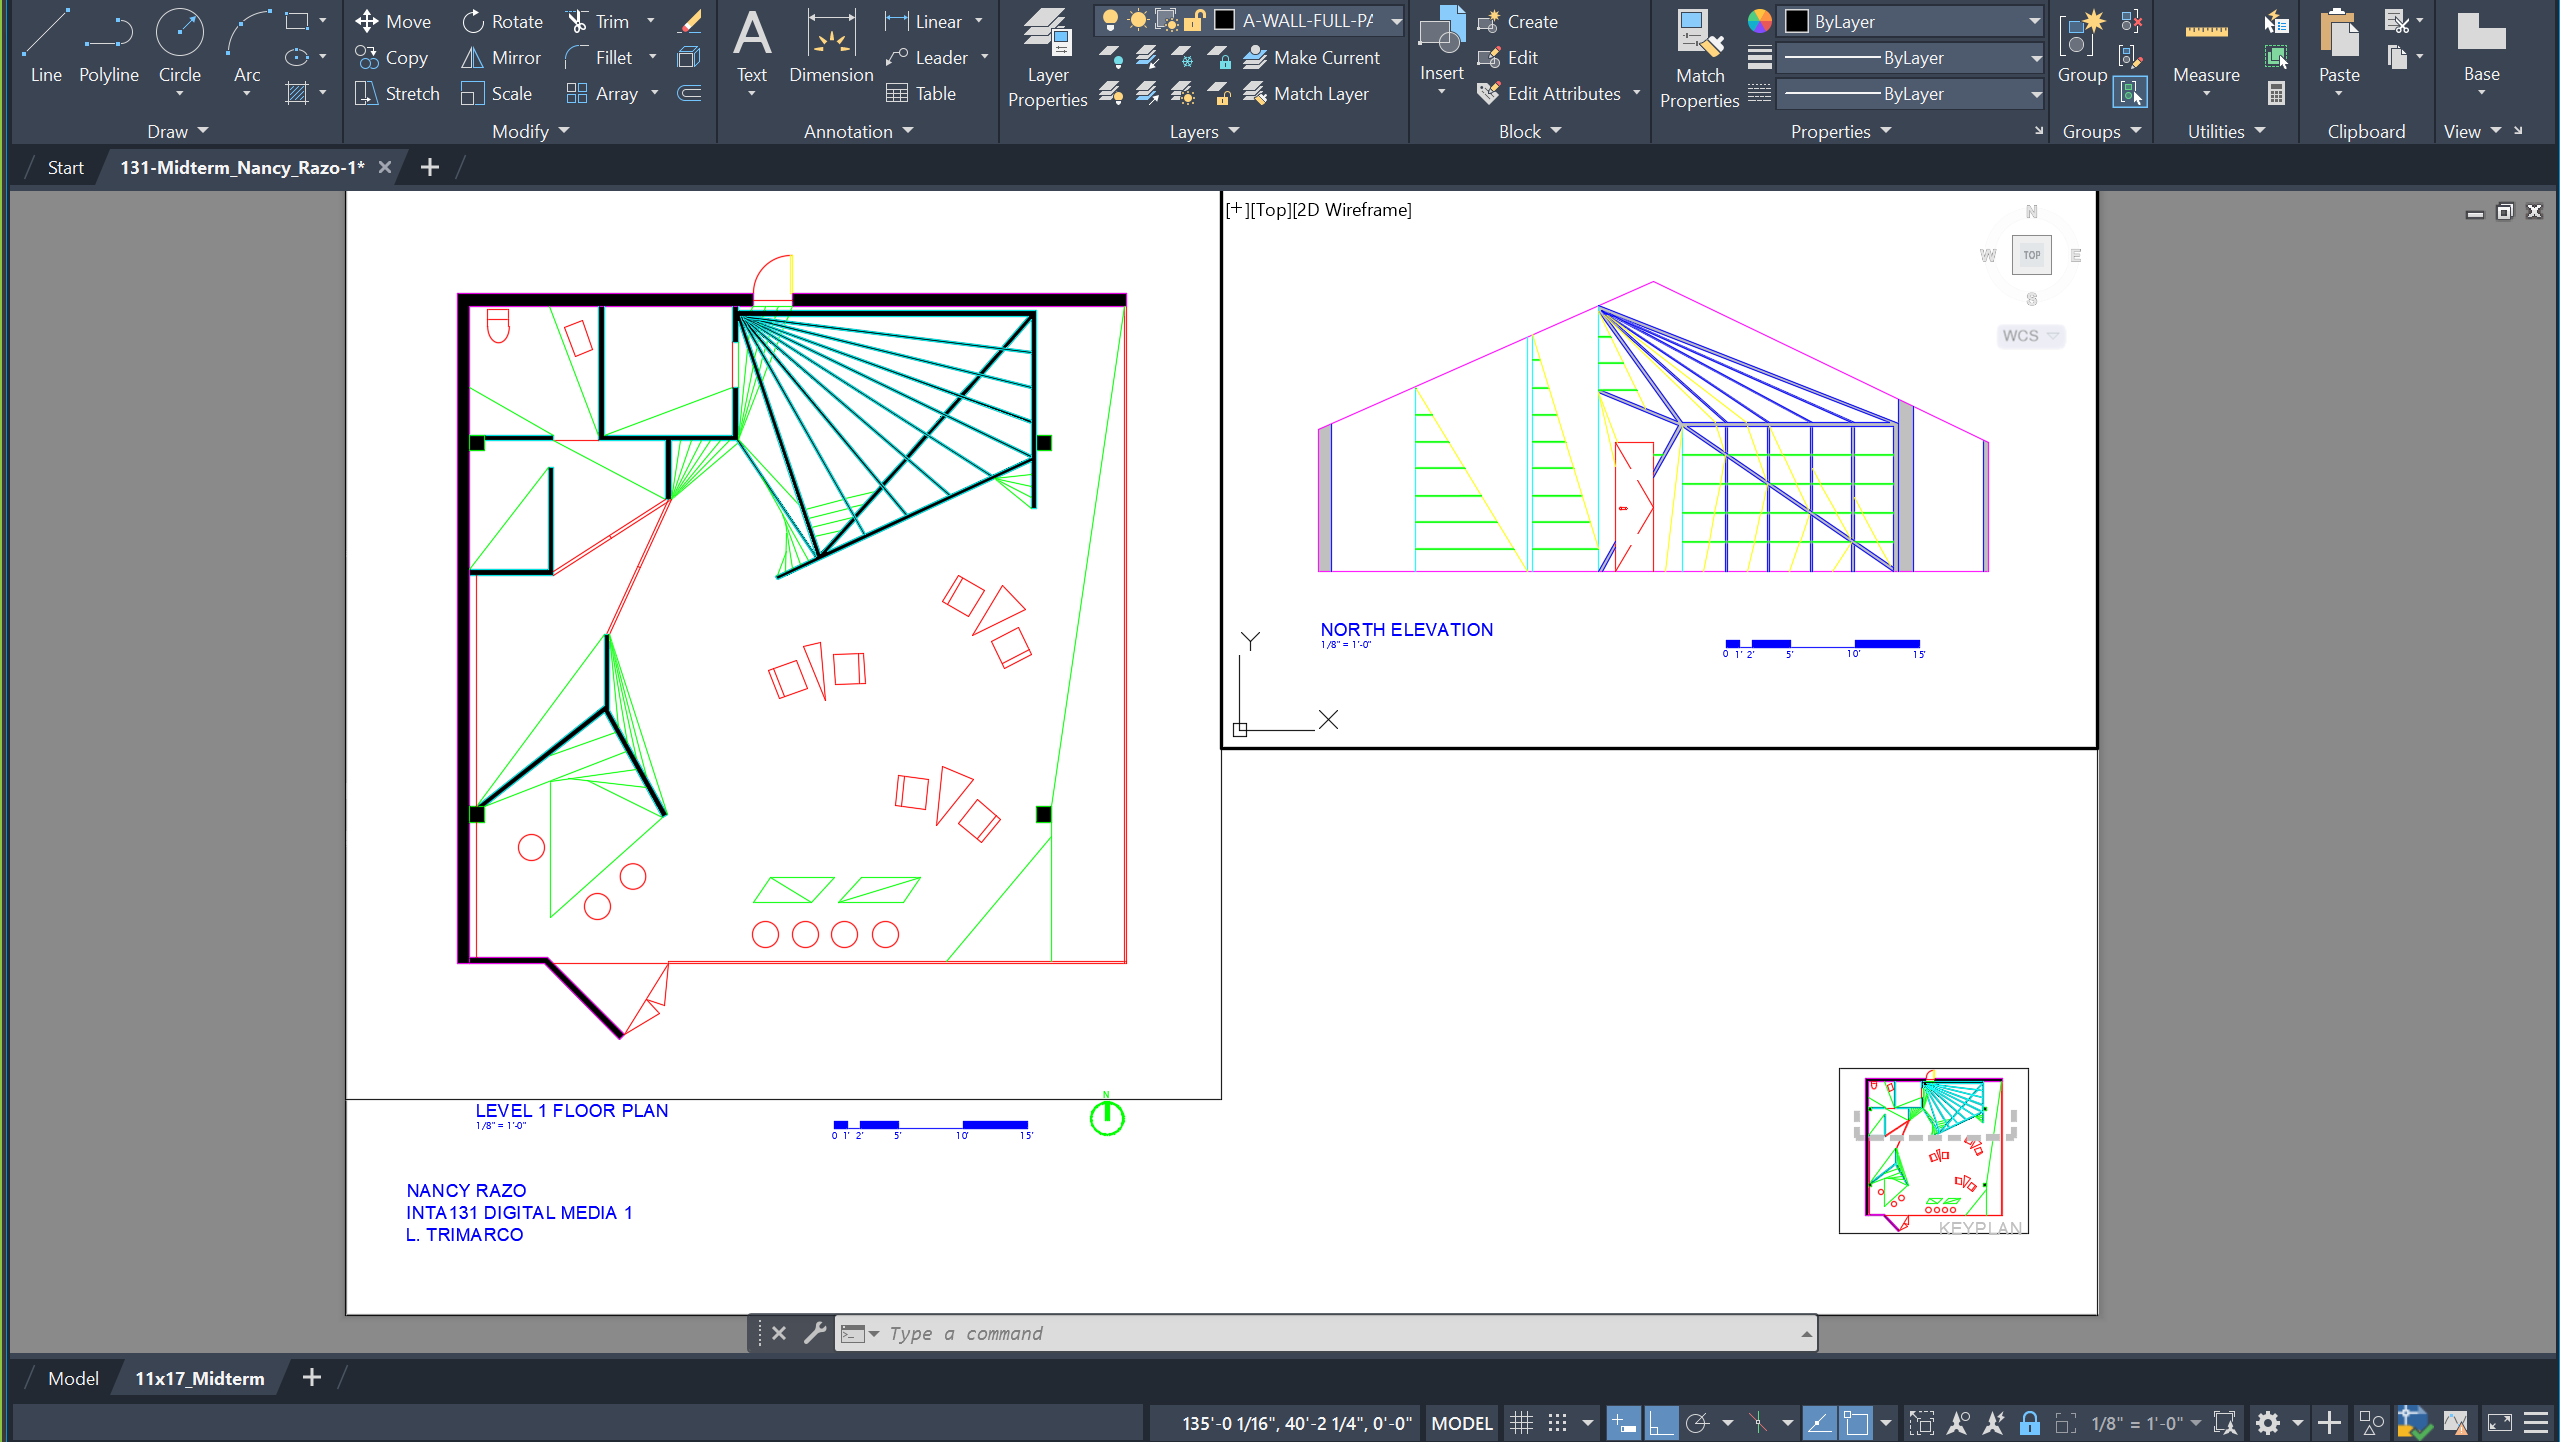
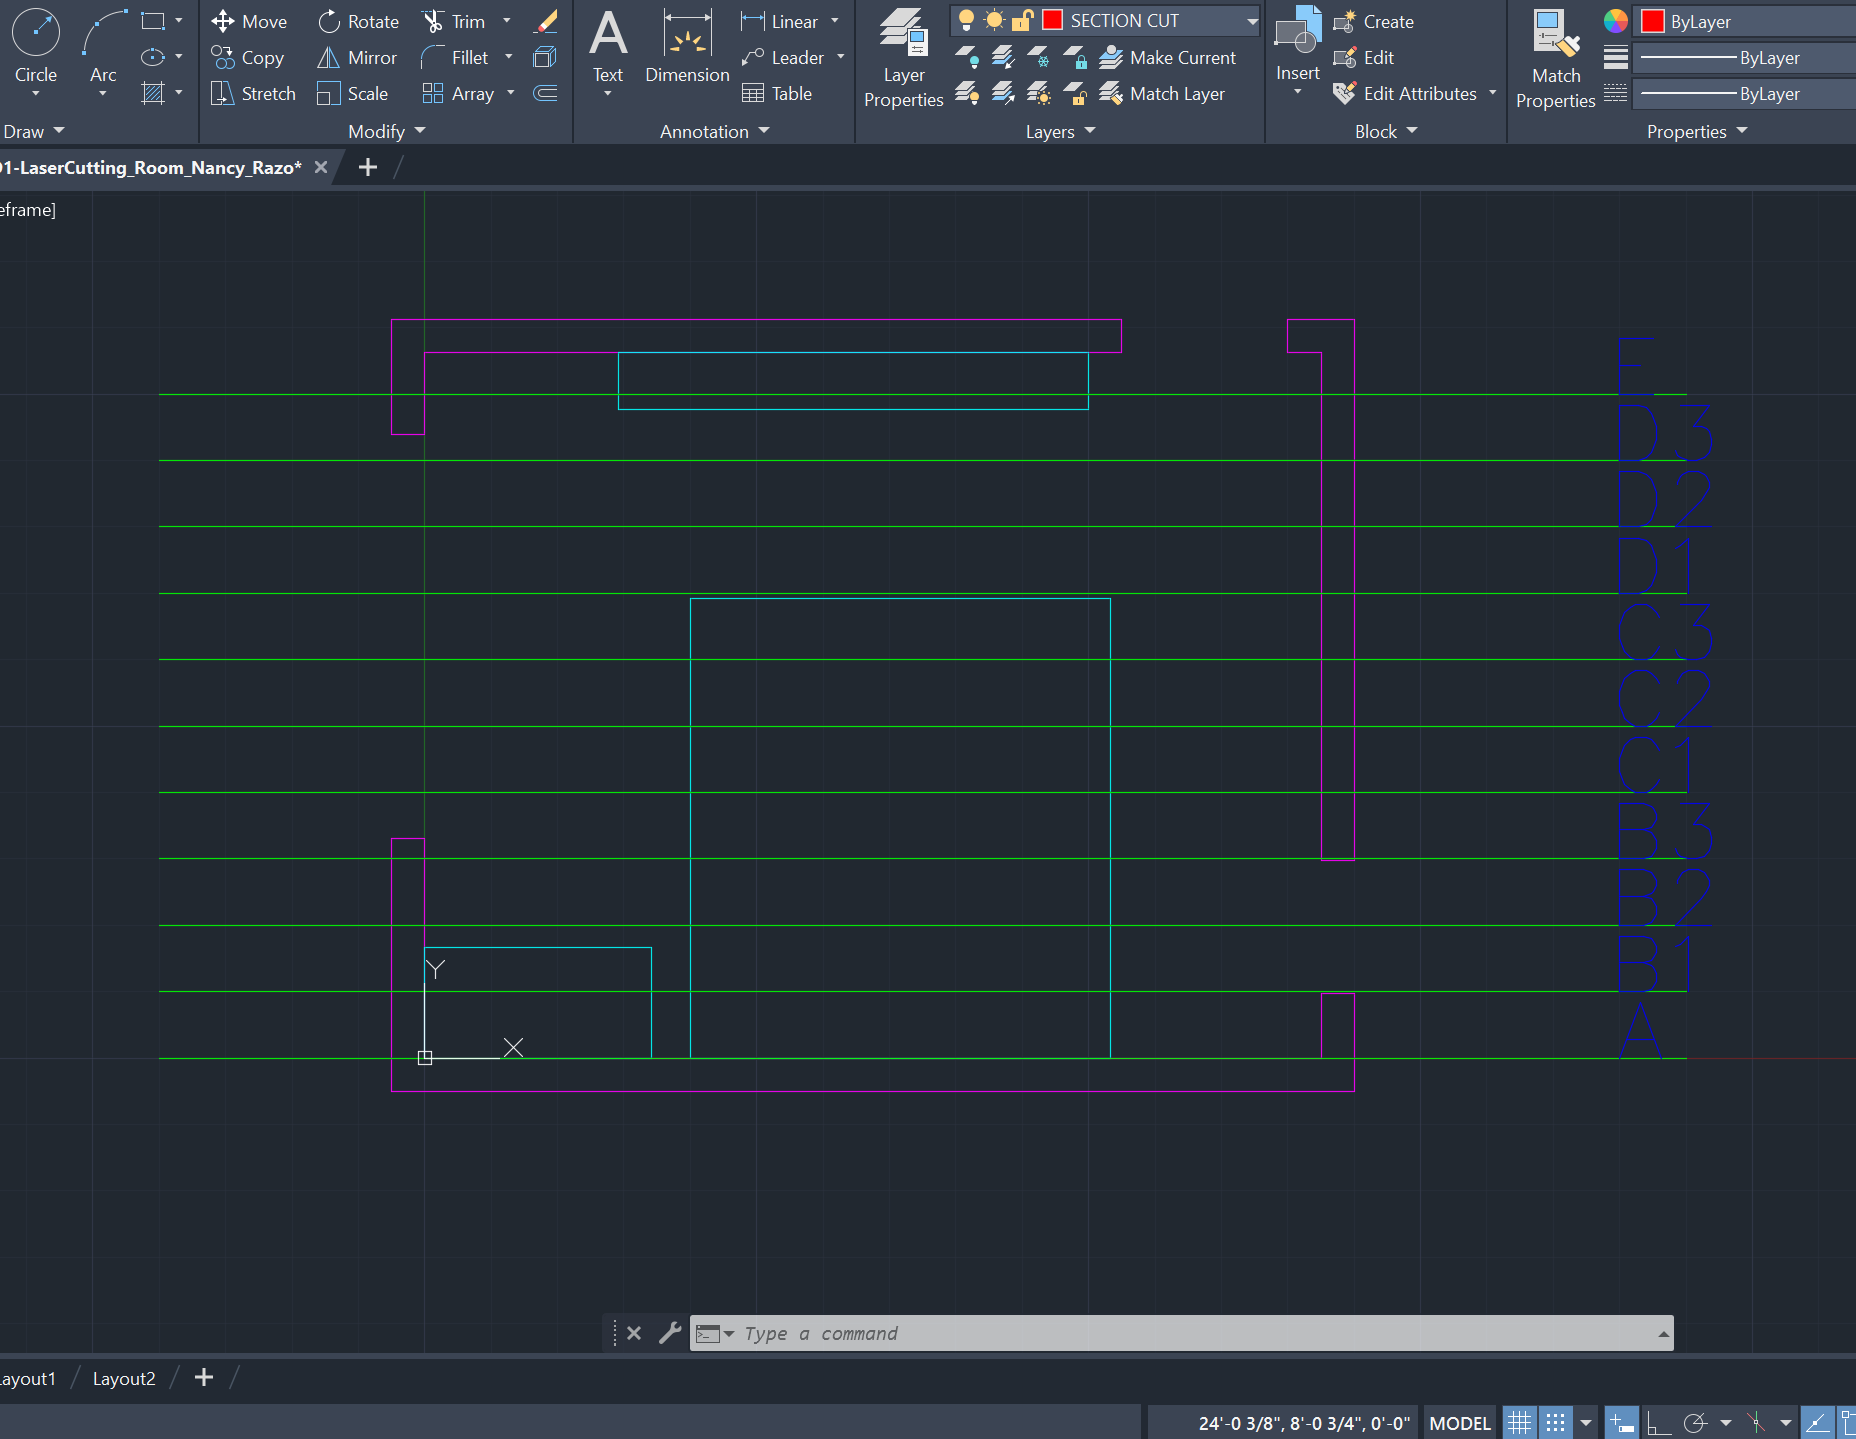
I used AutoCAD to draw a floor plan of my room (scaled at 1/2" = 1'-0") and add a vertical section at every 1'. These section cuts are labeled A-E and numbered per the drawings in the following image.
STEP TWO
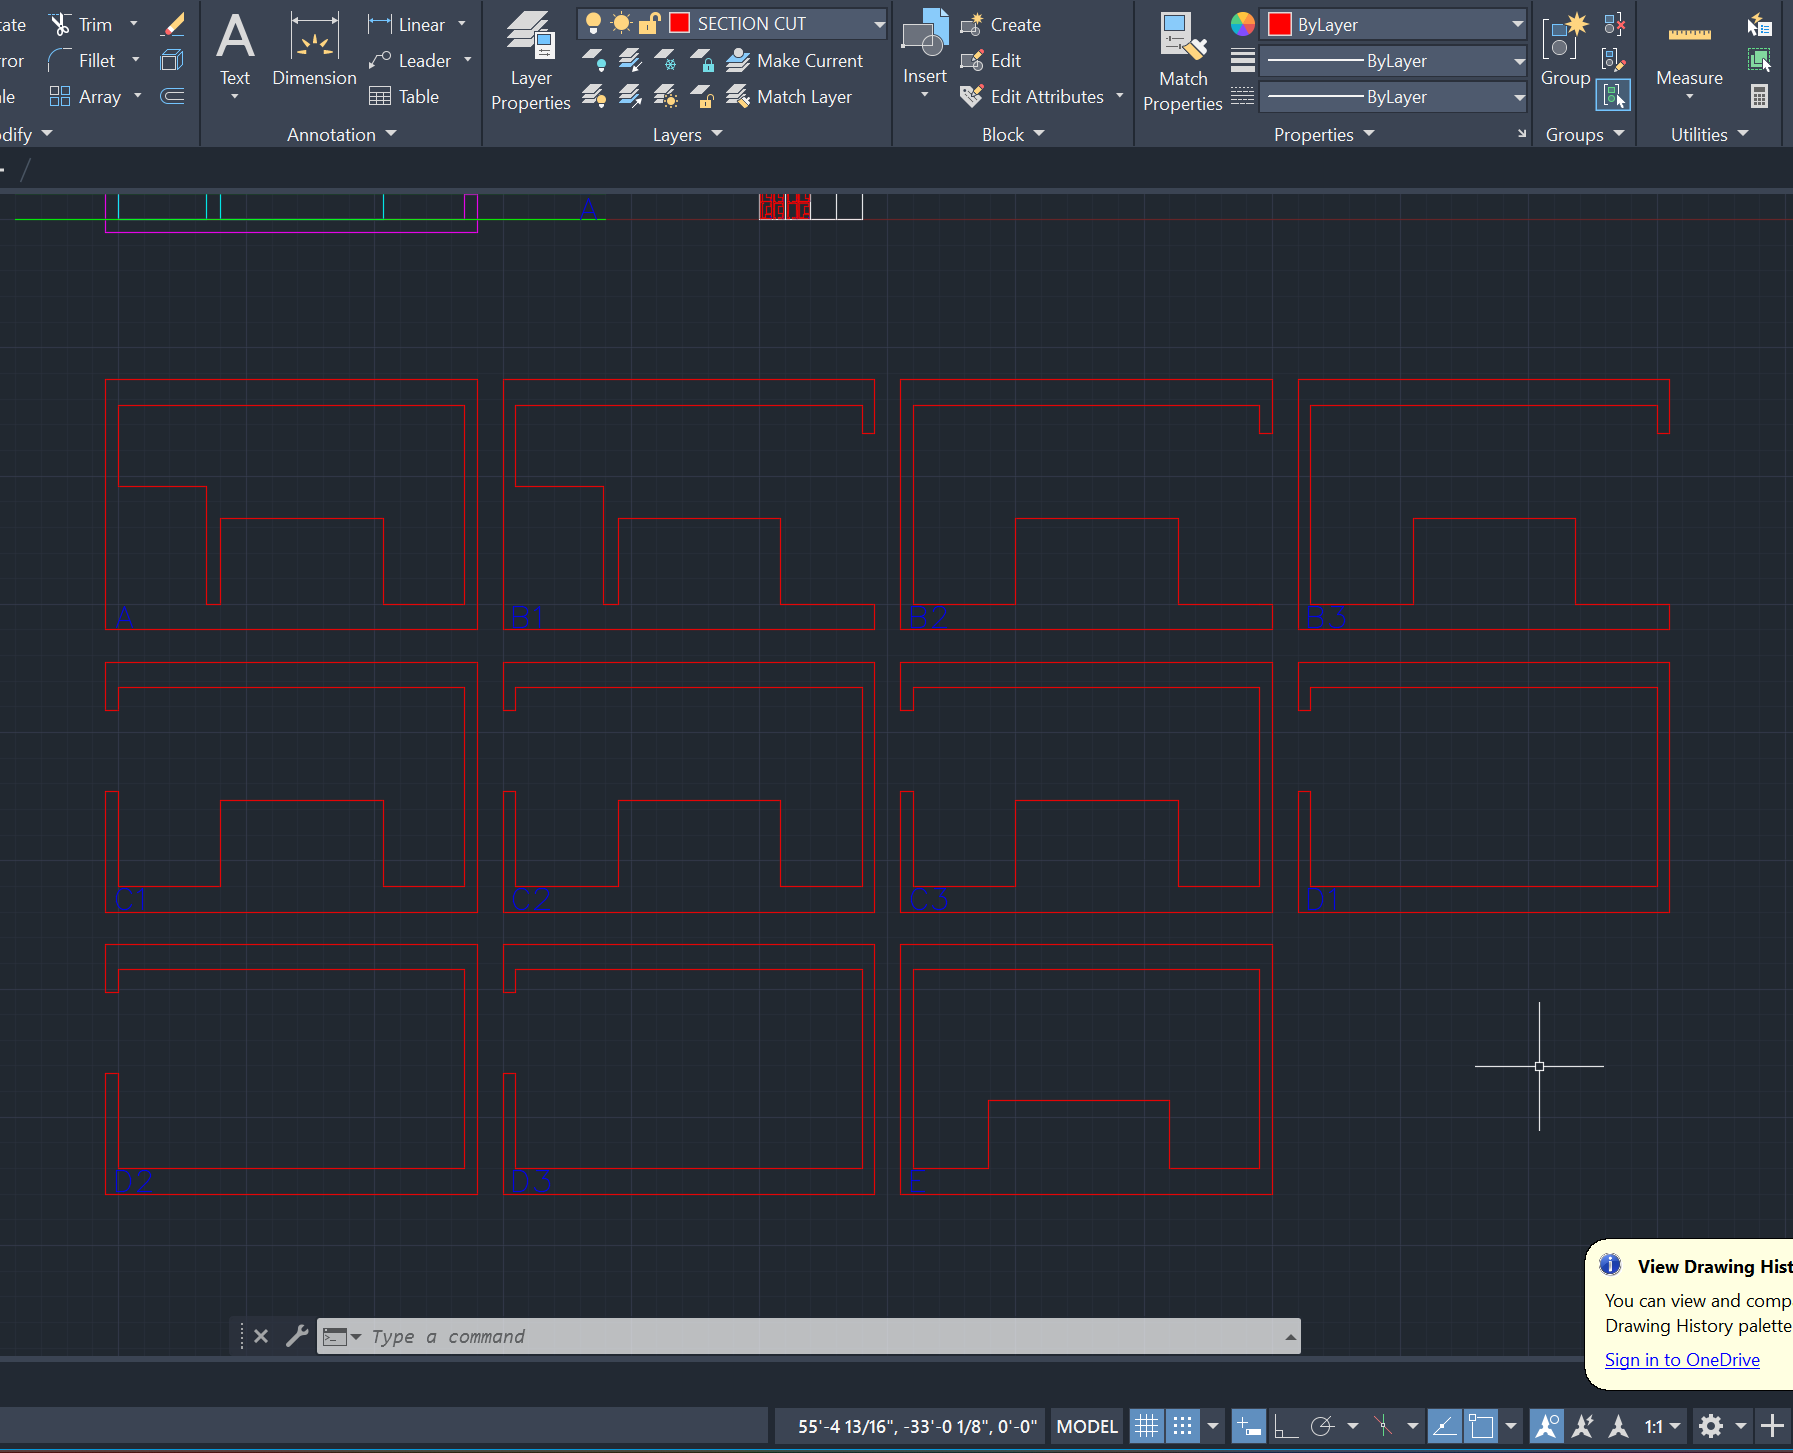
Creation of the multiple-section cuts viewed from the far end of my room to the entrance in the upper right corner of the initial drawing. The letters indicate a new drawing while the numbers indicate an opening in the walls (i.e. a window).
STEP THREE
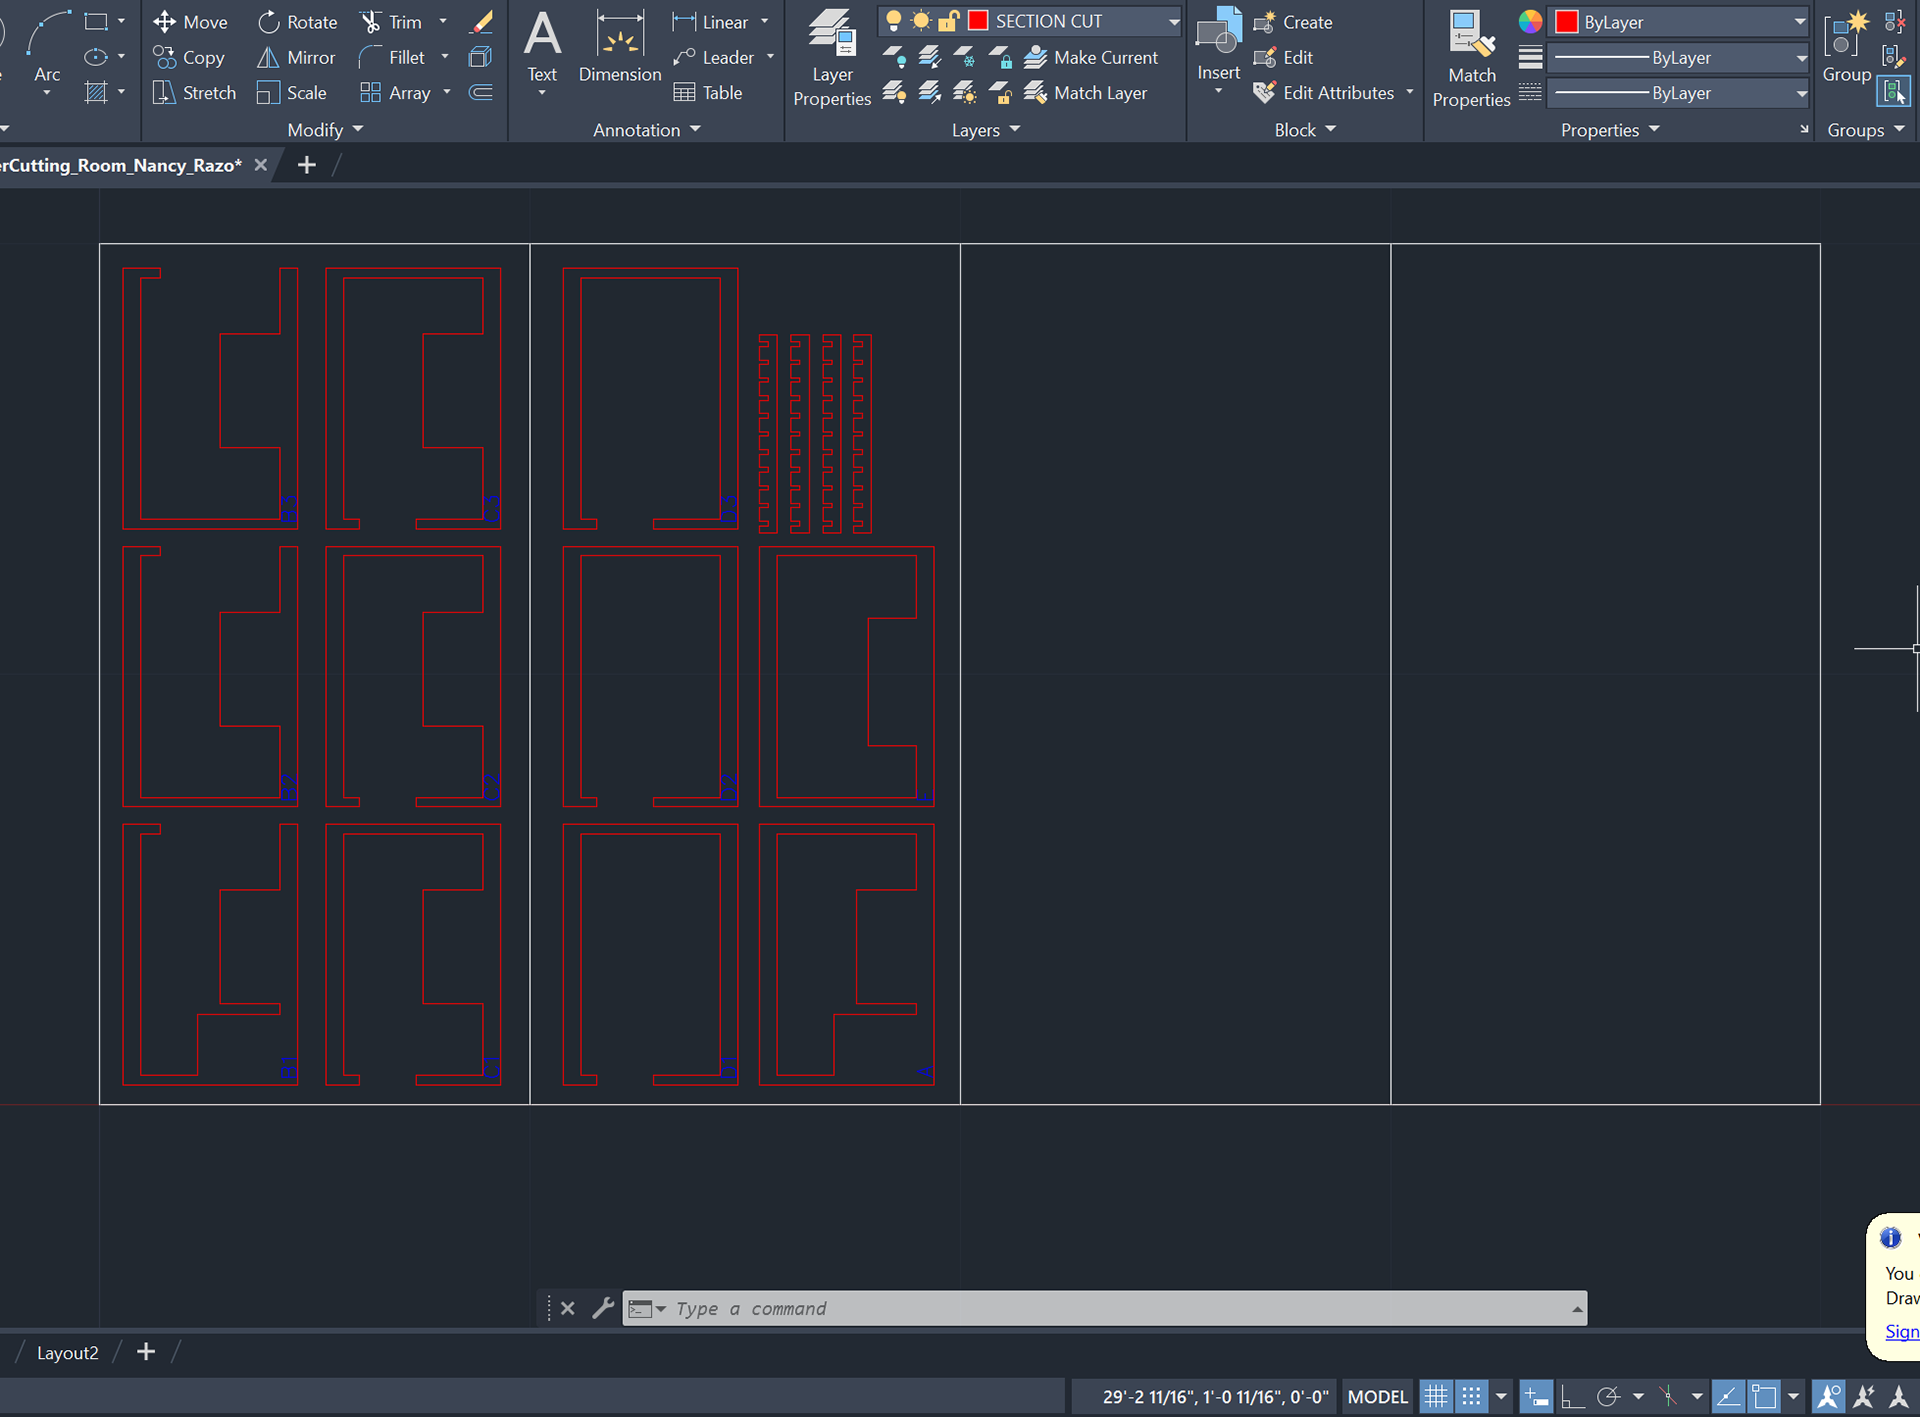
I arranged the multiple sections on a cut sheet (scaled to fit the base of the school's laser cutter) to minimize space and create a template. In addition, I drew (2) bottom and (2) top pieces to position and hold my sections in place.
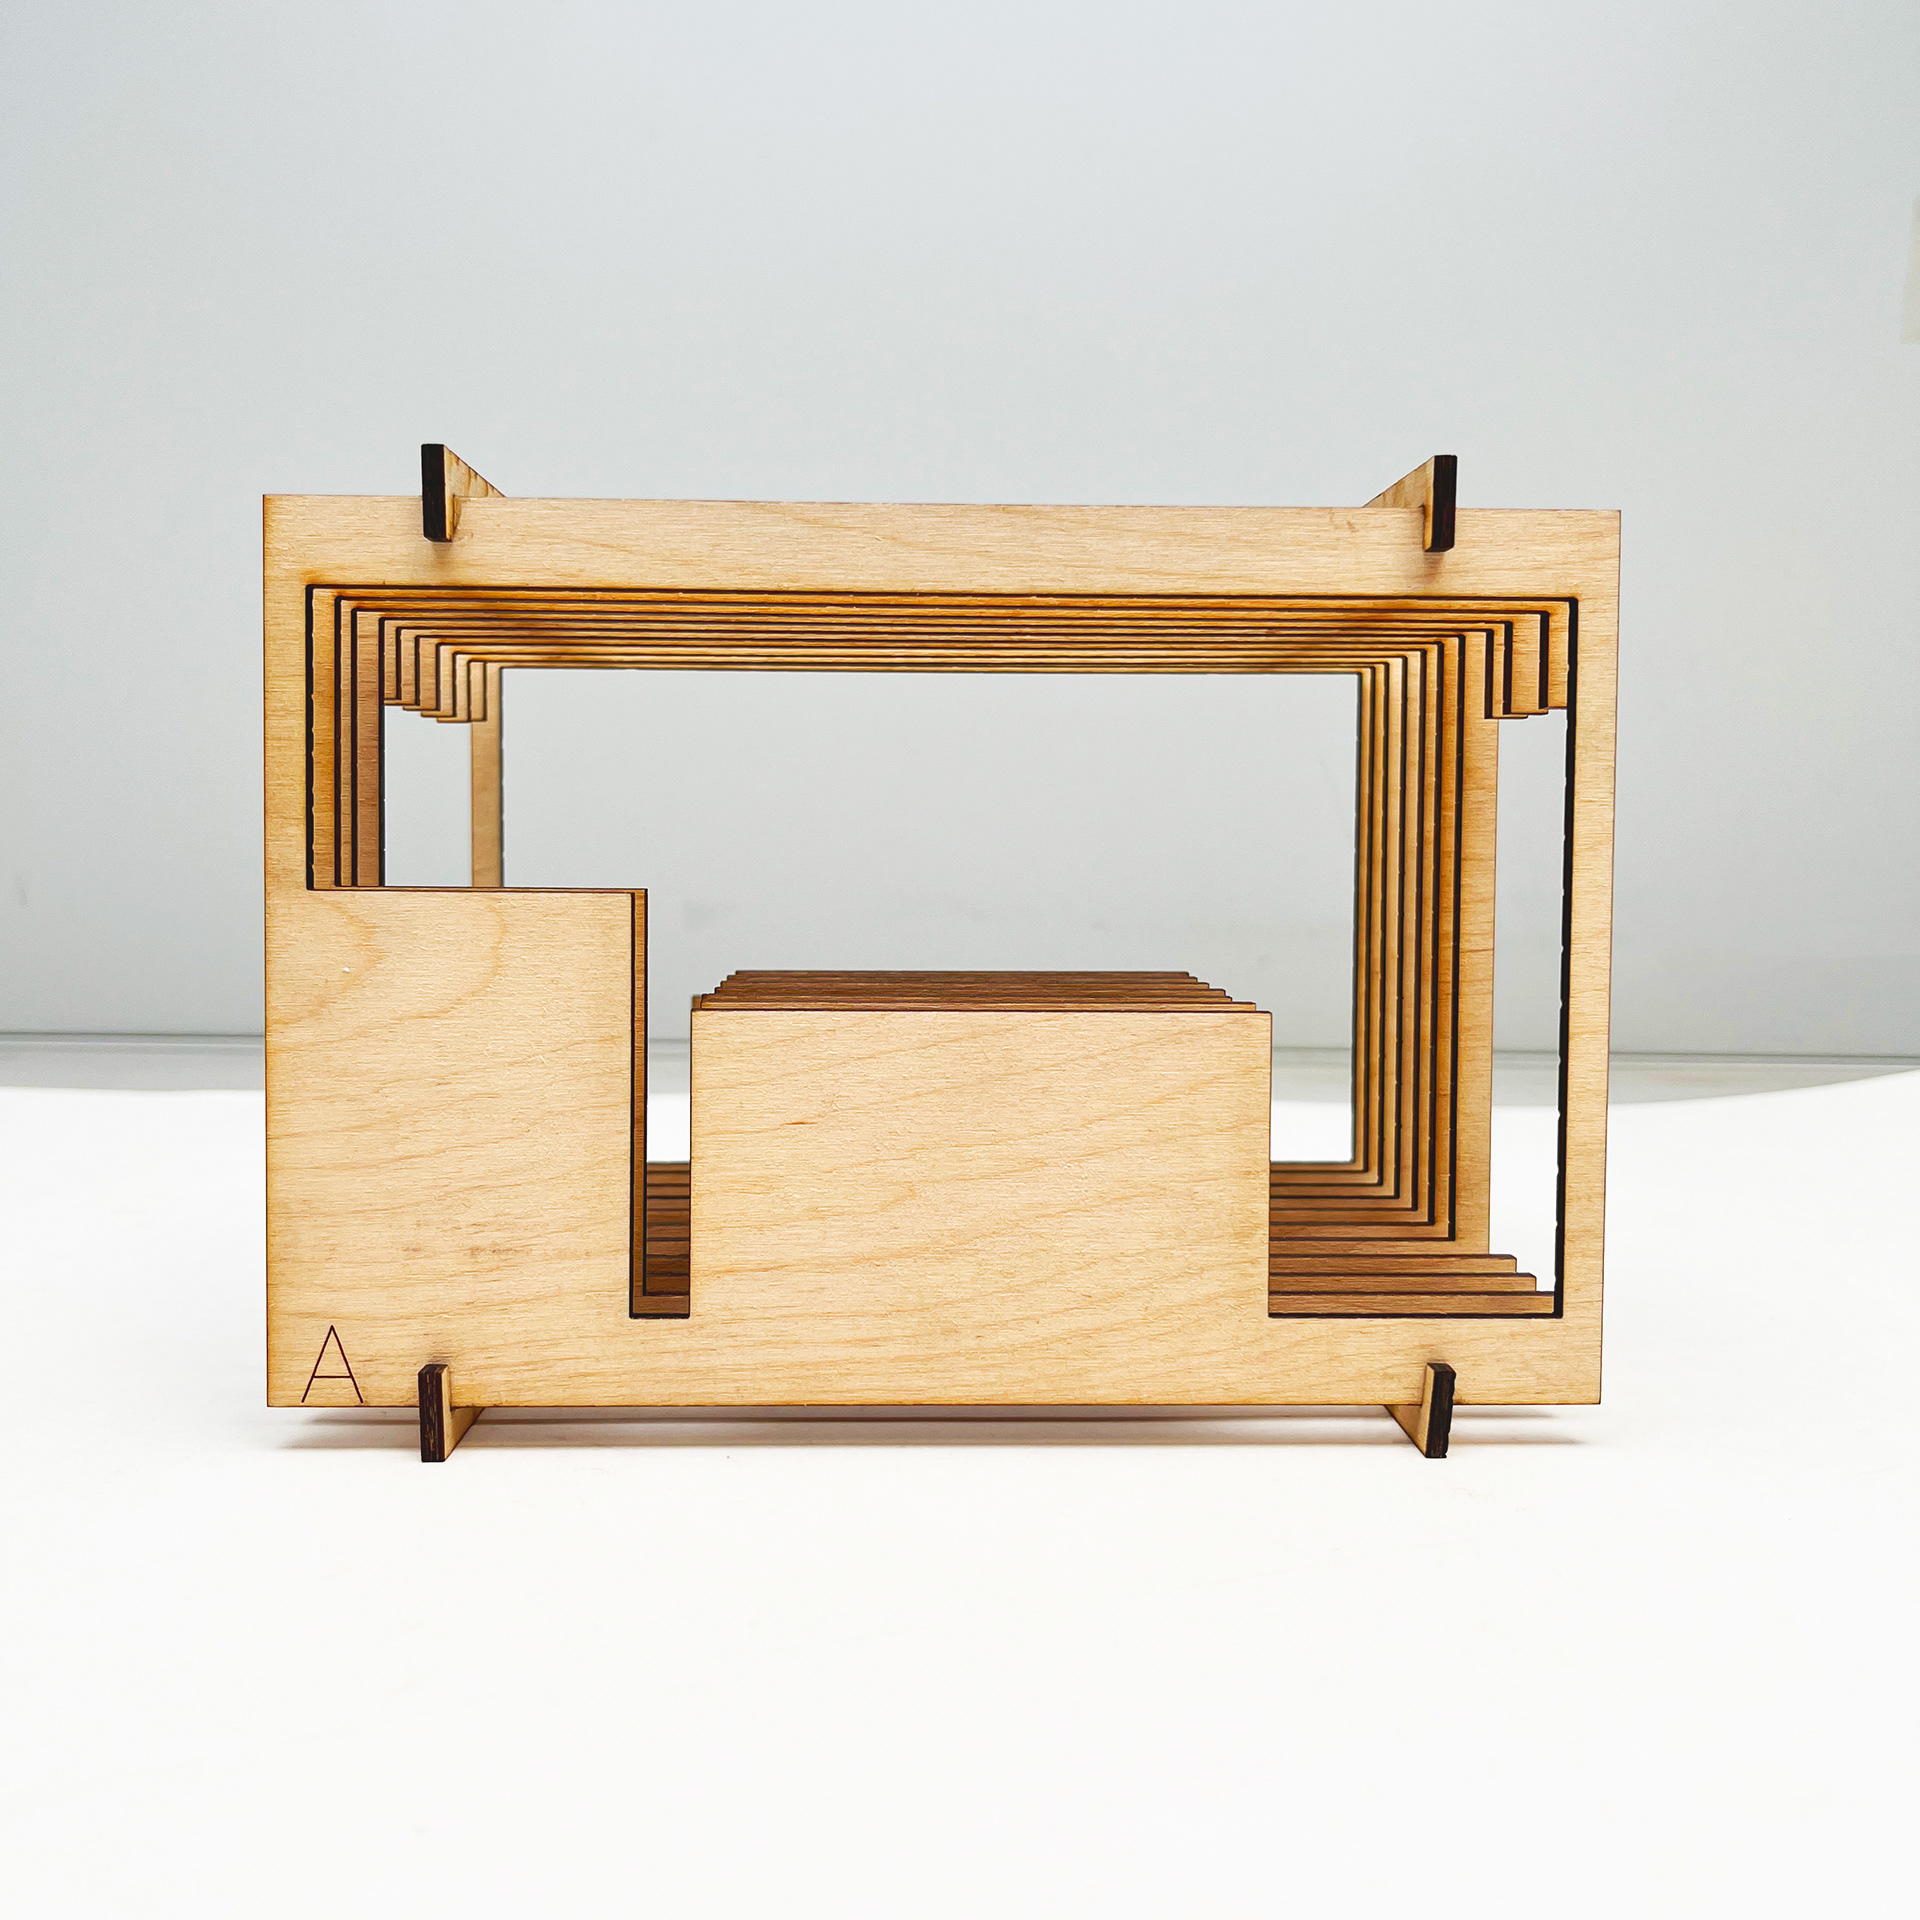
Front View
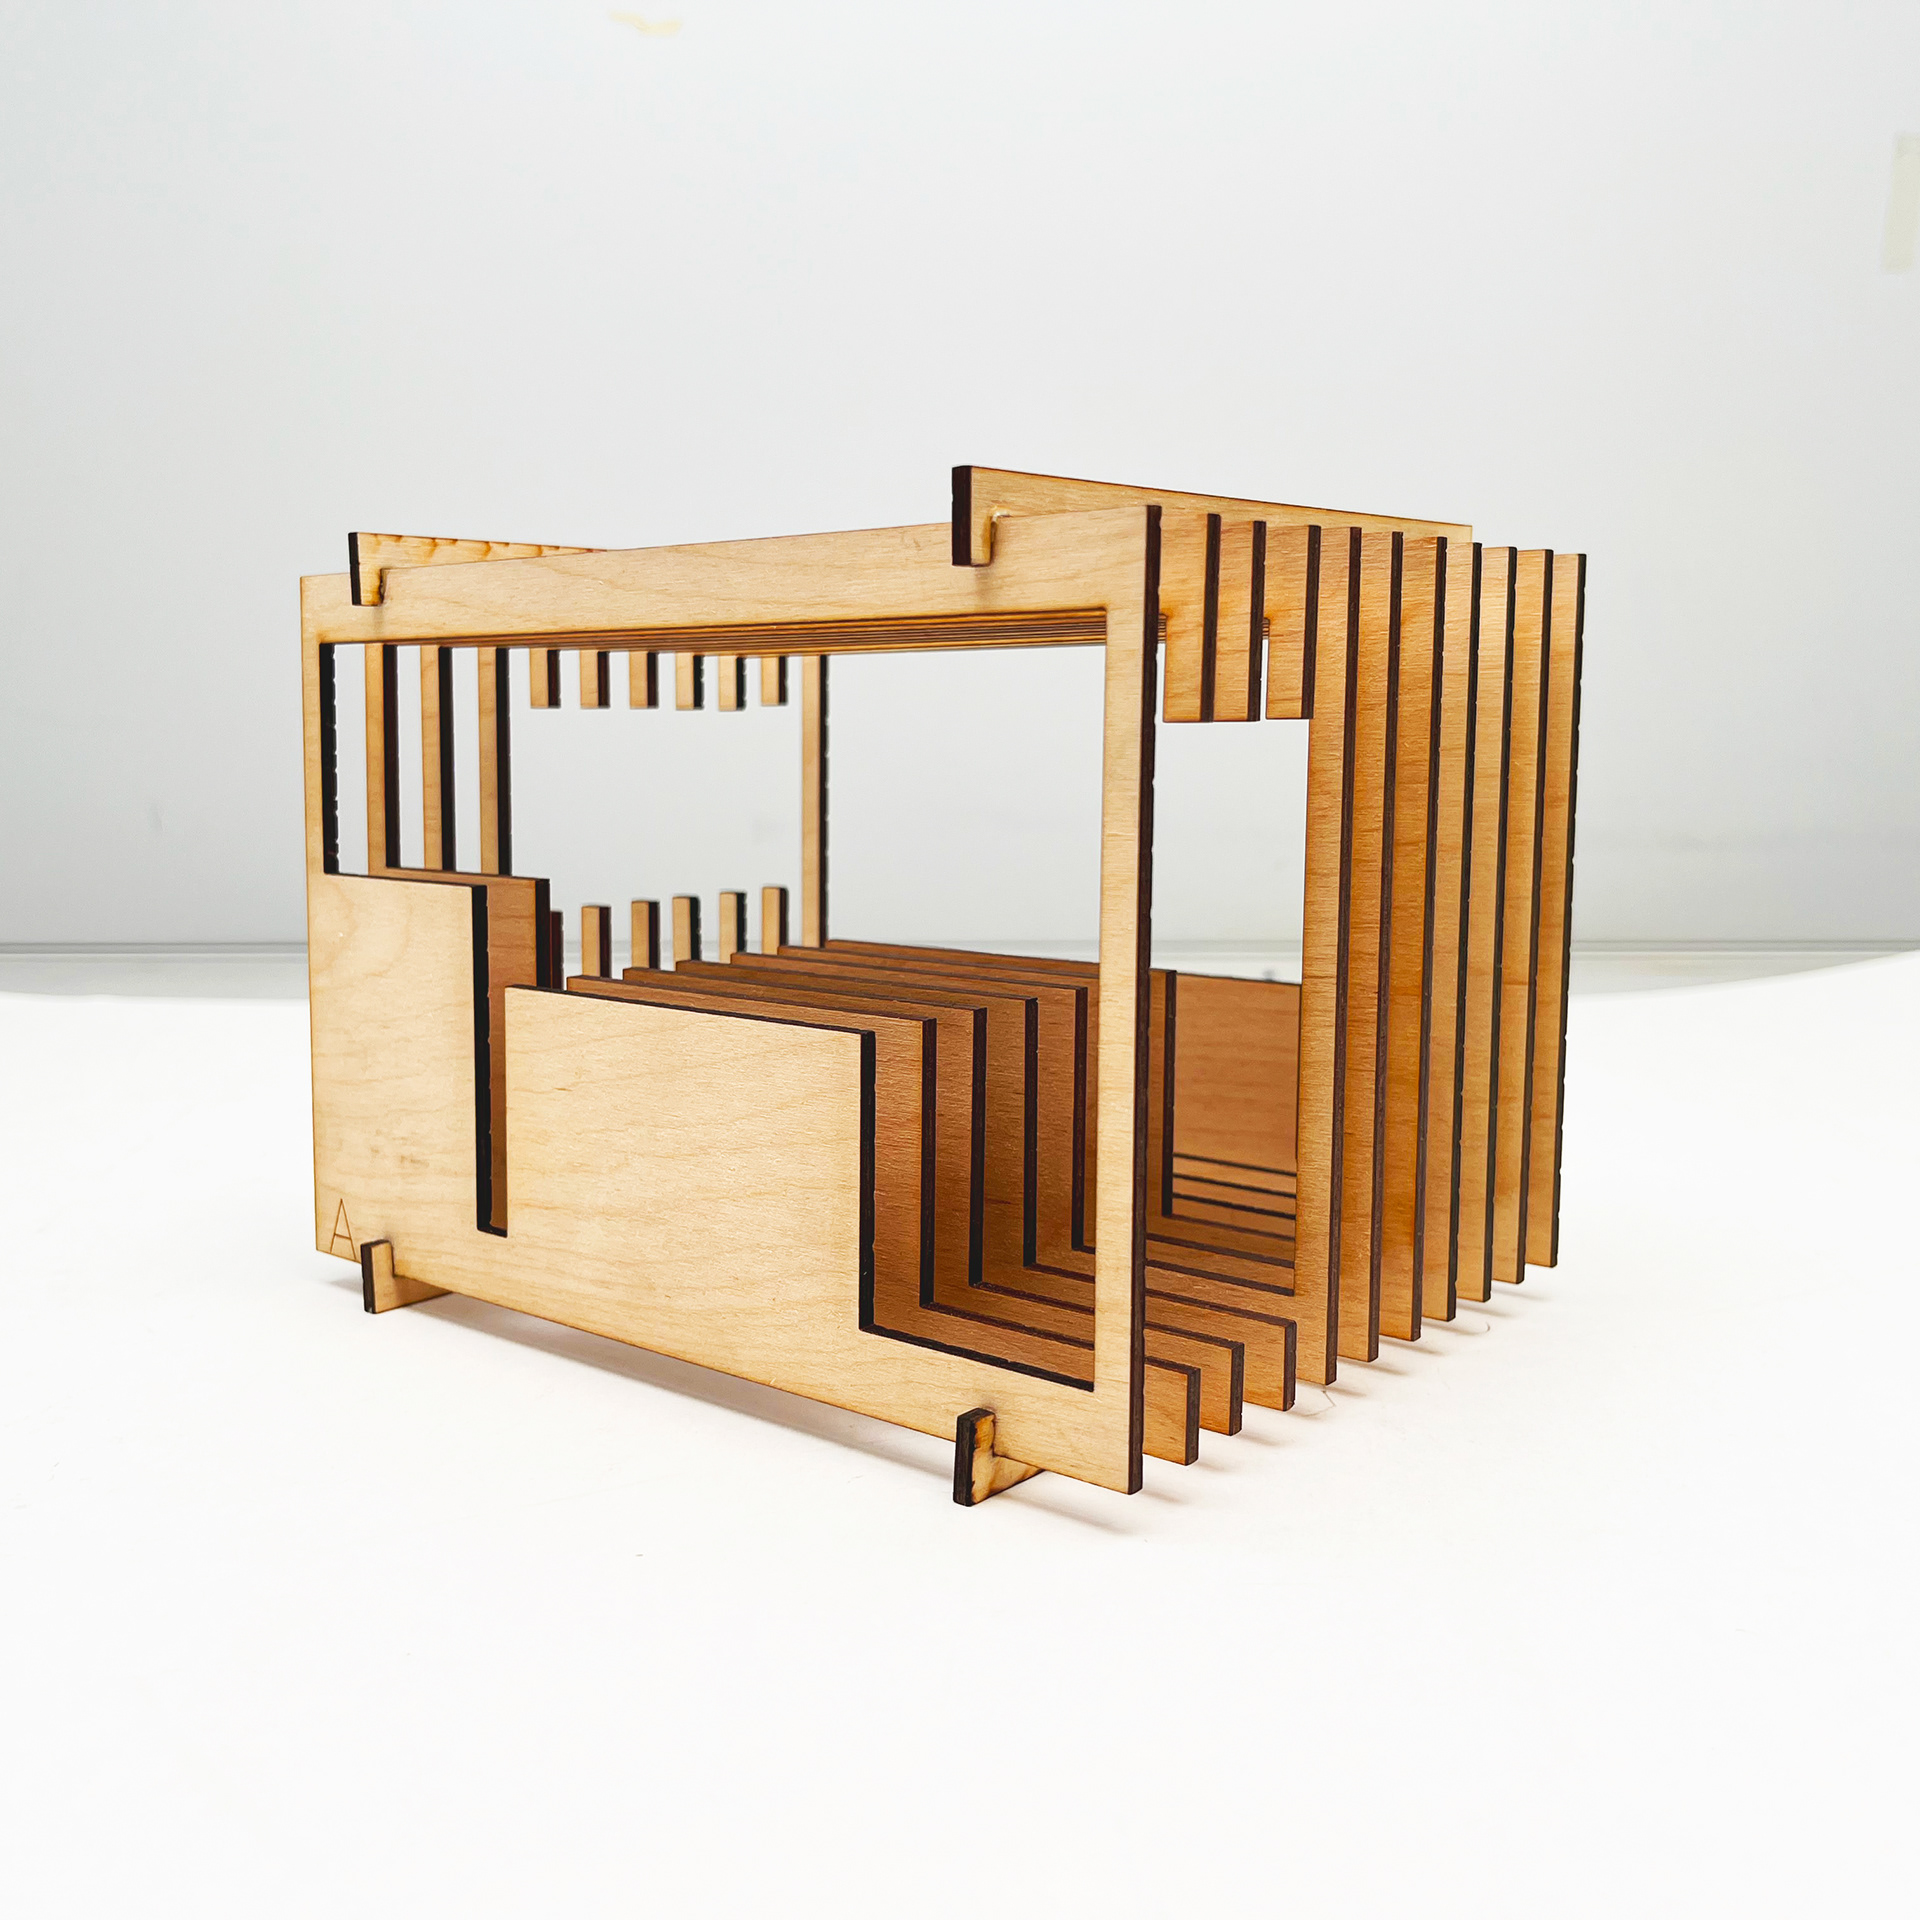
Right View
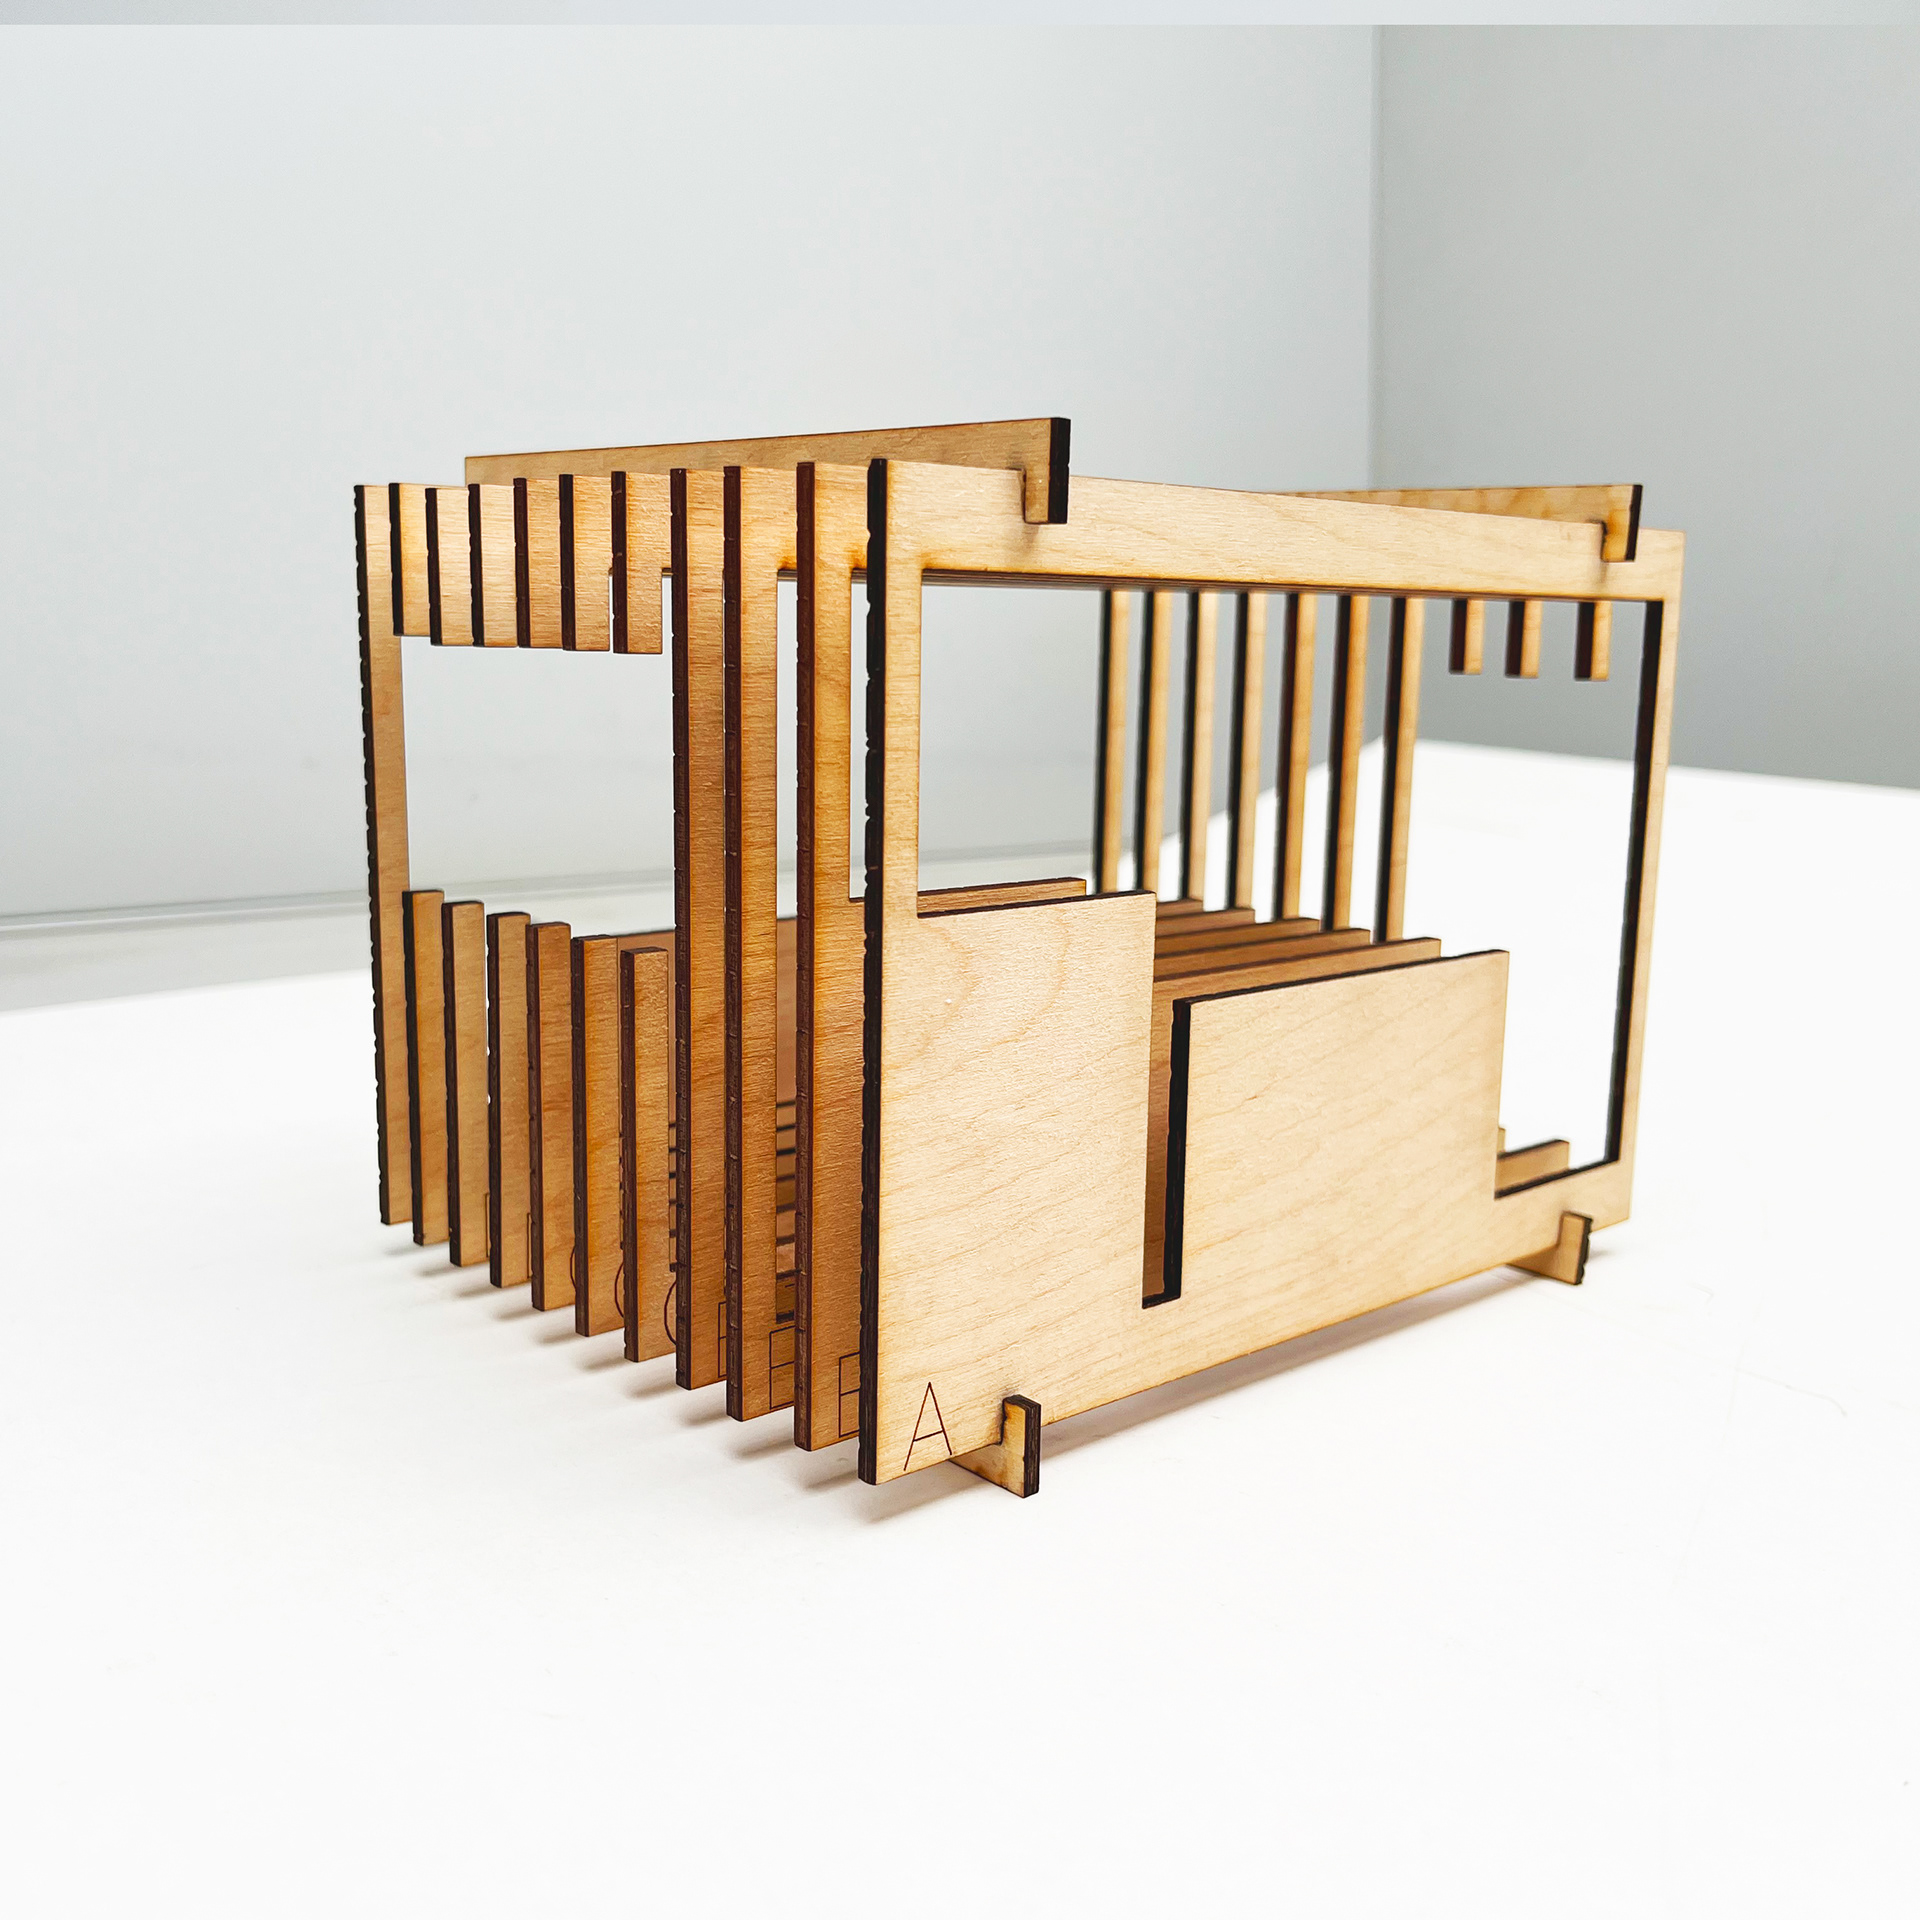
Left View
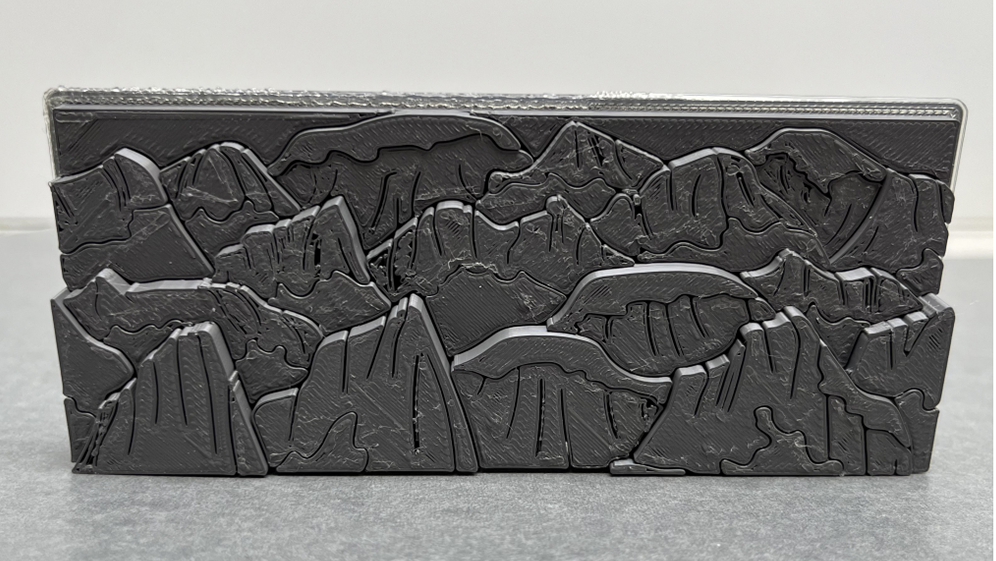
STEP FOUR
Using 1/8" thick Baltic birch wood, I used the laser cutter to cut my bedroom sections. Then, I used wood glue to stabilize the pieces and photograph the final product.